Showing posts with label Decorate. Show all posts

Wednesday, May 15, 2013

A Happy Birthday Indeed

Several months ago my dad came to my sisters and me and asked us to throw a party for my moms birthday. Several years ago we threw my dad a very special party for his big 6-0, it was complete with entertainment (grandchildren prepared skits etc.) fireworks, (his birthday is July 3rd) and BBQ  mmm mmm.  So my sisters and I went to work to throw a party that would be all about mom.  I took charge of the decorating.  I wanted her party to be uniquely HER.  I tried to choose a non fussy theme, and stick with colors I knew she would love.  When I think about my mom, for some reason spring resonates with me.  Maybe because she likes pastel colors so much?
 We have a huge family.  7 kids, 6 of which are married, 5 of which have kids!  So we needed every chair we could find.
 My oldest sister has an amazing house with a built in partay room!  Its been used many times by the entire family already, even though it is not even finished yet.
 I have been inspired by the many pictures all over the internet of these fun and EASY tissue paper pom poms.  I bought a huge package of tissue at hobby lobby and simply folded layers of it like fans.  Then you trim the edges and pouf them out.  I added a few balloons for color, including a few "hot air balloons."
 My sister in law is a cupcake GENIUS.  I am not kidding, her cakes taste like heaven and they are usually vegan! I don't know what her secret is.  Aren't these babies gorgeous? I was so impressed with them and so was everyone else that no one wanted to eat them. Once we all took one bite though, they were gone in minutes!  (Email iheartcupcakeslc@gmail.com for more information about her yummy creations)
It was a simple, but beautiful party.  It was a big surprise for my mom.  She thought she was just going over to my sisters for a nice. little birthday dinner with her family.  Of course we couldn't hide that many cars so she knew what was up once she drove into the driveway.  It's a wonderful blessing to have all of your family in one state and on speaking terms!
Follow Me on Pinterest

Tuesday, March 12, 2013

A Bakers Counter in the Pantry

I have a tiny pantry, but it is walk in.  I don't think I necessarily need a bigger one, but I love to organize and make the most of my space.  Here is what it looked like before:
Well, minus the shelf I knocked out before I remembered to take a before picture...
 I tore out two sets of shelves, just using a hammer and my guns.
 I marked the height of a counter top, which is where I will be placing my new shelf.

 I had to transfer most of the pantry goods to other shelves, and all over my kitchen. Neither usually looks this disastrous.
 I used joint compound to cover the marks and holes left by the old shelf braces.  Then I simply moved the old braces up to the new position, I was even able to reuse most of the tacks all ready in the braces.
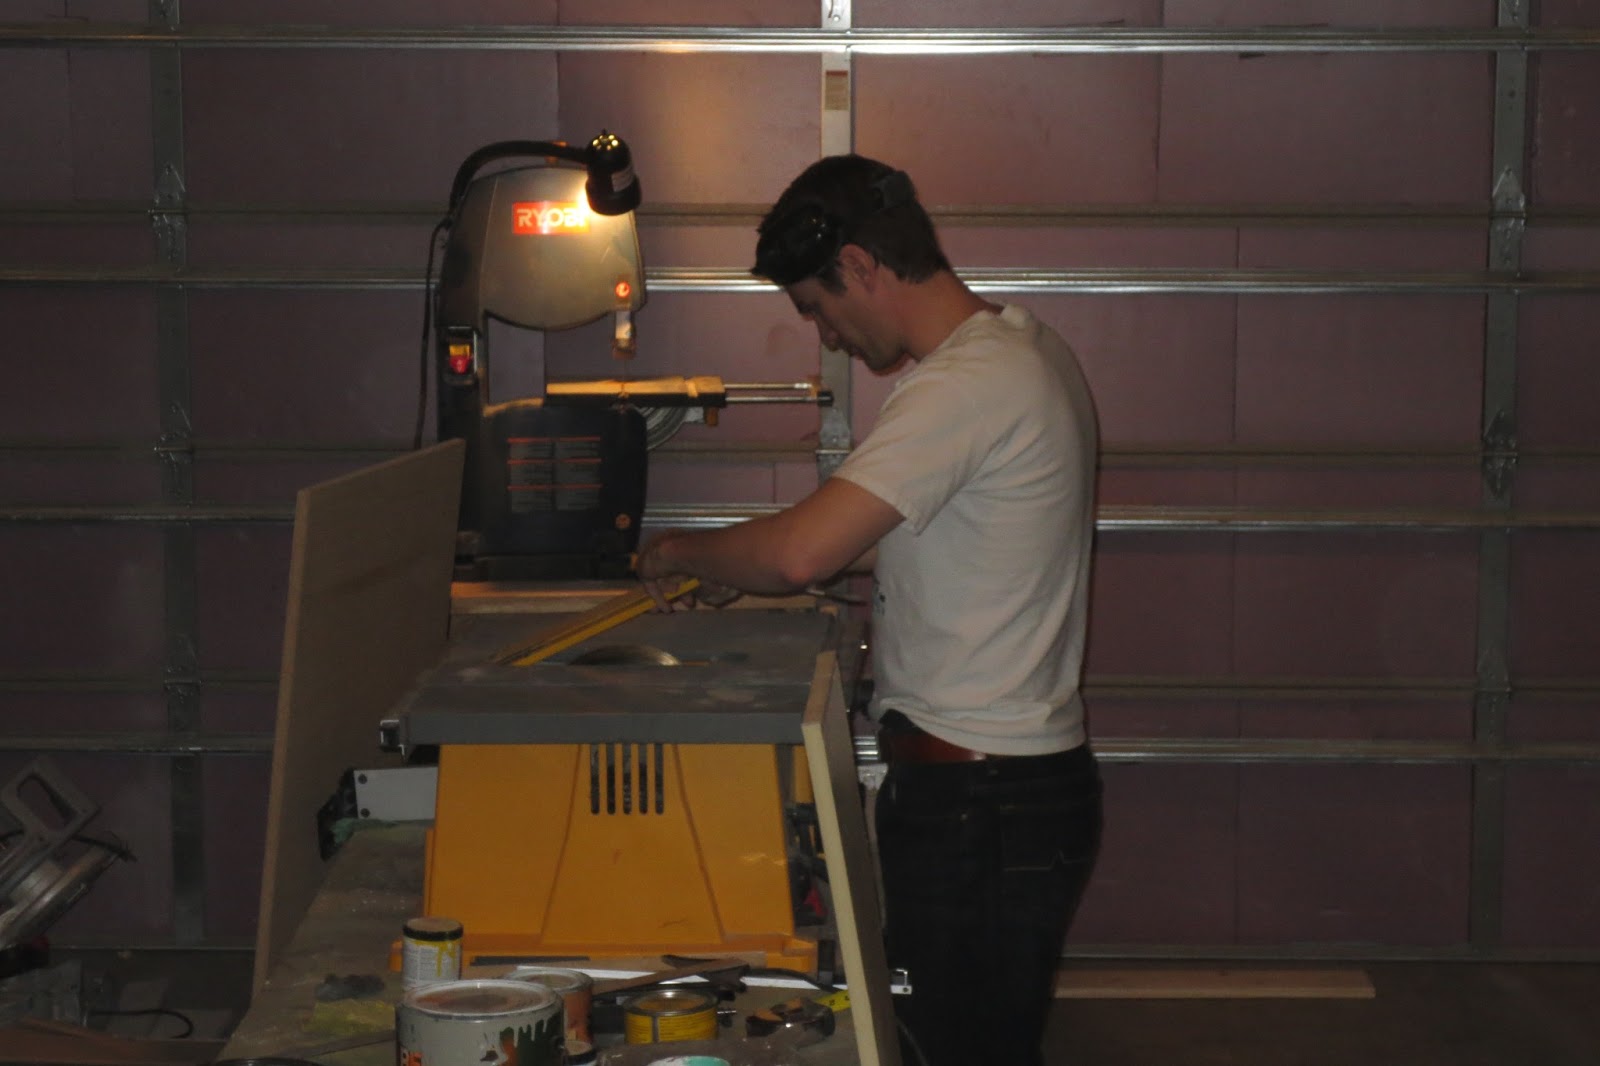
 I enlisted this cute guy to cut pieces of wood for me.
 I installed a 24" particle board, shelf on my new braces.  It is the same depth as a regular counter top. After that we caulked up and sealed all the little nooks. That little tiny shelf has a special purpose for small containers like spices, baking soda, etc. I also added a short shelf to the shallow side of the counter top for extra space.
 I repainted the wall the original color.


I had a can of oil rubbed bronze enamel paint leftover from a refrigerator that I repainted. Since that is the predominant color of fixtures in my home, I thought that it would make a great counter top. It dries to a super hard finish and a gentle coppery sheen.   The blue in this picture is painters tape, Which I used to take the paint up the wall about 3 3/4 ".   

 Patiently waiting for the paint to dry... Enamel paint takes a LOT longer than latex. A heater in there, with the door closed helped a lot.
I added another shelf on the right, below the counter top. 
 I wish I could wrap up the post with a picture of a pantry where each item is placed in matching jars with chalkboard labels.  However, my pantry is constantly evolving and I would be constantly changing out whats in those jars and those labels. This pantry is functional!  I don't have a lot of cans, because they have BPA in them and I cook almost everything from scratch. I have a lot of number 10 cans though, that are below the counter top on the right.  I am constantly in my pantry pulling things out of it and putting them on the counter and then putting them back, until one day it occurred to me, that if one of my shelves was a little deeper, I could use it like a counter... and then I went crazy with it from there.
 The last thing that needs to be done, it to have a plug installed in here so I can use my Kitchen-Aid mixer and my bread maker, right there in the pantry.  Good thing I've got an electrician on retainer.  I'd also like to add an under cabinet light above the counter top, but it's not essential.
Do you think you would use a counter top in your pantry?  I'll bet most people's would just get overrun with pantry items.  To me, it's just a space in the kitchen like any other, that needs to be de-cluttered and cleaned, so I doubt I will have a problem with it.  
Follow Me on Pinterest

Monday, March 11, 2013

A Little Gray Chair

I found this chair at the Deseret Industries second hand store. I loved how unique it is.  It's so wide and squaty, plus I secretly love cane, but it had the most hideous, golden orange, scratchy, dingy upholstery.  I put it away in my garage, for what I fear was more than a year... I just didn't want to have to strip all of those complicated parts.  While out finishing up some other furniture in chalk paint, I saw this little chair stashed over in the corner and thought, I should just paint it in chalk paint! Chalk paint easily goes right over old finishes with no striping.  
 It took 2 1/2 coats of paint to cover the old finish.

 It's a nice, quality chair, with a nice springy seat. 
 I'm guessing this chair to be at least 40 years old, and the cane is in amazing condition.  

 So I painted the whole thing gray and white washed over the cane a little as well.  

 I highlighted the details on the legs and instead of doing piping (ain't nobody got time for that) I did a pleated ruffle with nails. I love it. It's a unique and functional finish.

I love it! It took me several days to decide that I could, possibly, maybe, depart with it and put it up for sale.  How much would you sell it for? 
Follow Me on Pinterest

Tuesday, March 5, 2013

Three Sided Fireplace

 After almost 1 1/2 years, we finally finished our fireplace! (minus the china cabinet on the other side...) I am so happy with it, and it has provided us with warmth the whole time, even when it wasn't finished. It is so efficient I can heat my whole house, (about 2500 Sq ft, including an unfinished basement) using only the fireplace, and my gas bill is the same as usual, but I can keep my house between 70-75 as opposed to 65-69, on the same dime.  


 We bought this mantle at a lumber store. It was just a huge piece of solid pine. We took a hatchet, a sander,  a hammer and whatever else we could find to give it the hand hewn look.  Then we finished it with a good sanding, and one coat of poly-stain in a satin finish.   
 When the fireplace is on, you can see the flame from every side of our great room, which includes our kitchen, living and dining rooms.  
 We choose to wrap the matching baseboards around the bottom, for a built in, "I came with the house" look. 
The scariest part for sure, was cutting a hole in the outside wall.  What if it didn't fit? We would have a huge hole to the outside!  It did fit, we measured a million times and cut once.  The orange is the template we made of the exhaust ducting


 Then we had to seal all the corners and crannies with fire block caulking. We then carefully slid the fireplace into the hole and it fit!  (I have omitted copious amounts of tedious steps, so please do not call or comment that we did it wrong.)
We then had to frame the top in.  I wanted a china cabinet on the back, which was actually the hardest part of the whole job, (which is why it's still not finished) because of figuring the measurements we would need.

 After framing, you cover the frames in boards. I recommend pants when doing construction, even if you have cute toddler legs. 
 Then moisture paper.
 
Then a layer of chicken wire, or lathing screen, and then a scratch coat. 
Once that has set, (we let ours set for about 6 months.  But 24-48 hours is fine. :)) you can finally put on your stone.  
It took us 2 days, to finish putting the stones up. We had growing pains learning how to deal with the mortar. It had to be just the right consistency or the stones would fall off.  We had several fall off the back and there was swearing.   
It was frustrating that we had to live with a half finished monstrosity in our house for so long, but time and money did not permit it to be finished in a few weekends.  But we saved THOUSANDS of dollars doing it on our own.  And now we have a one of a kind feature in our home, which is nice since we live in a town house and they are all the same inside and out; with the exception of a shade or two of beige.  The fireplace is a Heat-N Glo, and it has a thermostat, so I am able to use it to heat my house like I stated before.  We bought the actual firebox unit from someone off of local want ads.  They gave us a steal if we came and pulled it out of their house for them.  It sounded shady, but that's their business, not ours. 
These fireplaces retail at $5000, this does not include the whole wall we built or the stone, just the firebox and wooden top like a table.  We have not hit the $1000 mark on the cost of building this yet!  DIY is the way to go if you have the skills.  Now that we have finished this project we are feeling pretty self confident that we can do anything now, like finish the basement or build a barn.  Of course this is a town home so the barn will have to wait until we move someday.

Links to resources:
Fireplace-Heat n glo


Follow Me on Pinterest