I found a beautiful piece for furniture for a steal! I'm not going to say how much but I definitely got a good deal. This lady has got some cute curves and fun features. It was someones grandmothers, so likely from the 70's or 80's. Vintage, but not quite antique yet.
I don't usually like to share my furniture finishing secrets, but this time I will take you through step by step on how this piece is redone.
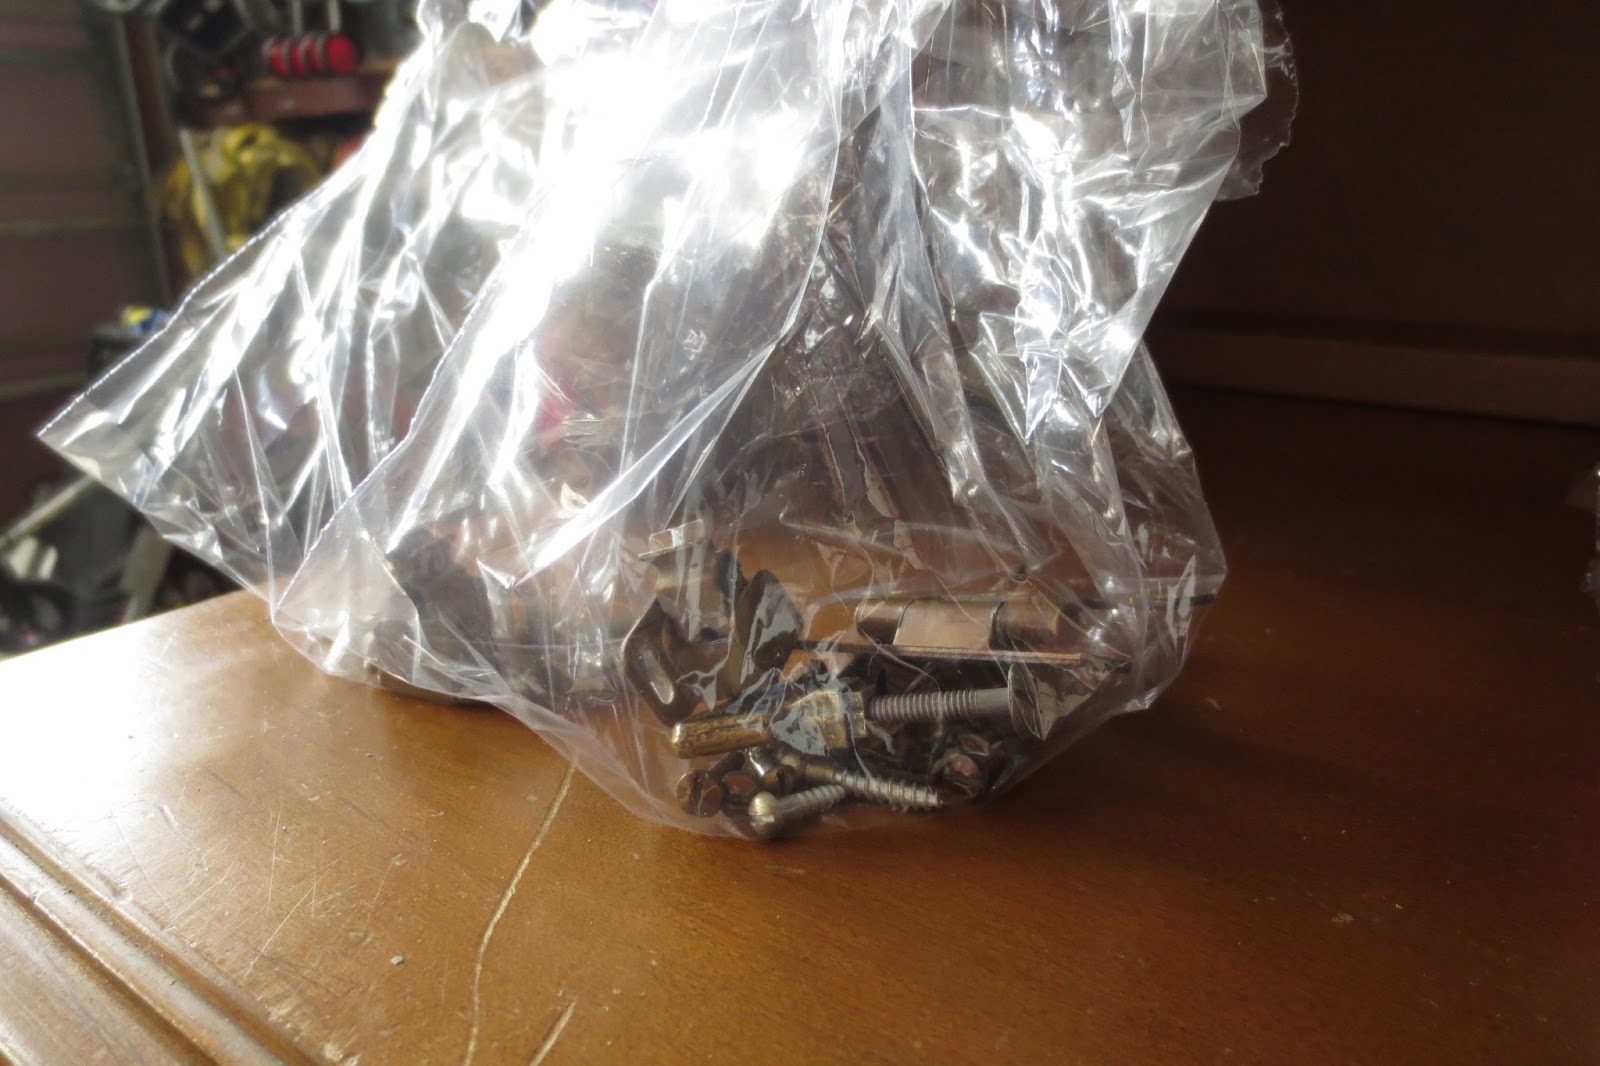
1. Number one, always remove ALL hardware. Never, ever, ever paint the hardware. (This excludes enameling it with a different color to change it.) I am talking about being lazy and just painting the whole shebang one color and going right over the hardware. If you want your furniture to scream "AMATEUR" then by all means, paint right over your hardware.
This piece had a lot of hardware. So I used a separate bag for each door.
These were tricky to get off. I gently lifted them with a flat head screwdriver.
Look at this great hardware. I see a lot of people replacing old hardware with something more modern, even if they shabby a piece up. What a waste, the hardware is sometimes the most charming part. I will be painting this hardware to an oil rubbed bronze color.
Shutter front doors! Awesome!
Nice legs!
This piece has spots for little hooks, likely to hang tea cups from. I will search high and low to see if I can find anything that will work, but thus far I have not.
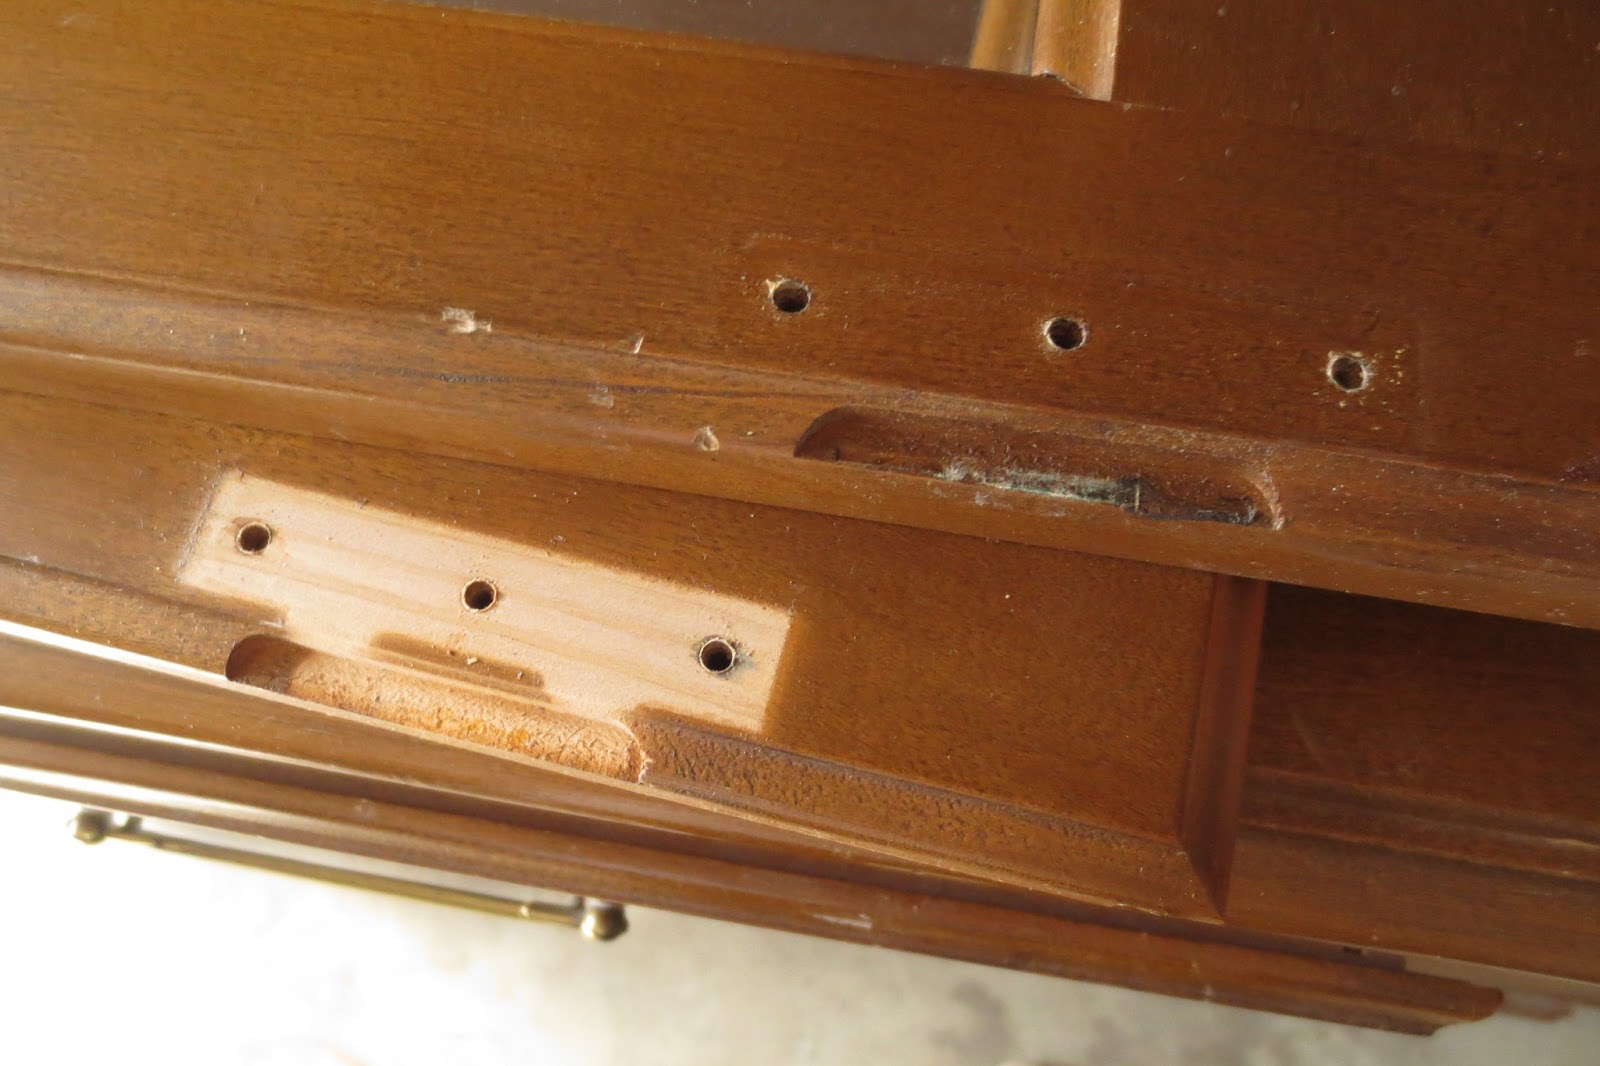
Always use a hand screwdriver, if a powered one slips, bye bye original screws.
I found this interesting. One door had no paint under the hinges, the other one did.
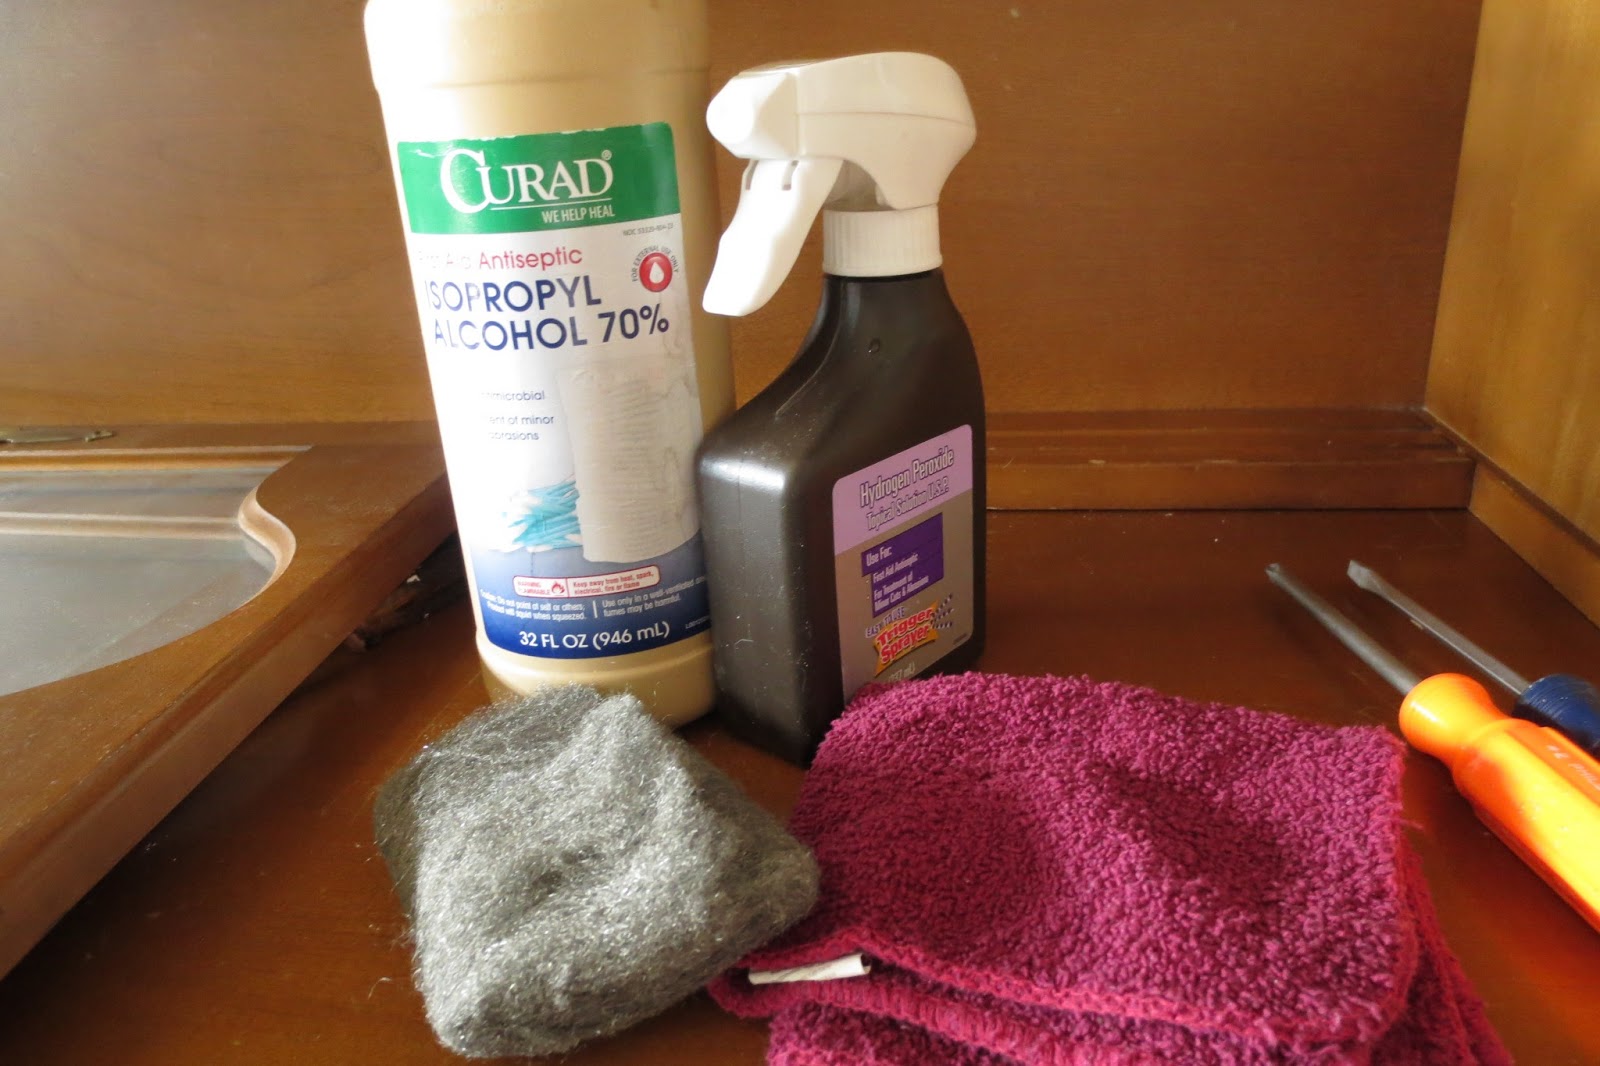
2. You must remove years of gummy, oily grime before painting an older piece. I used alcohol in a spray bottle.
Wipe down the whole piece.
This blotching will happen, have no fear, just ignore it.
The top of this piece is going to be white, so there is no need to completely remove the finish. So what I did was just rough it up a little so the paint adheres better. I used a 100 grit sandpaper. I highly recommend one of these affordable circular sanders. They move in every direction, eliminating most sanding marks.
See? Not fully removing the finish, just roughing it up and removing any glossiness.
Here are the two paint products I will be using. I am going to strip and use a poly-shade on the fronts of the drawers and doors, and the case and hutch will be antique white.
I will be adding non sanded grout to my white paint to enhance the durability and skip the priming step.
You can get these handy paint pail pour spouts for $0.98!
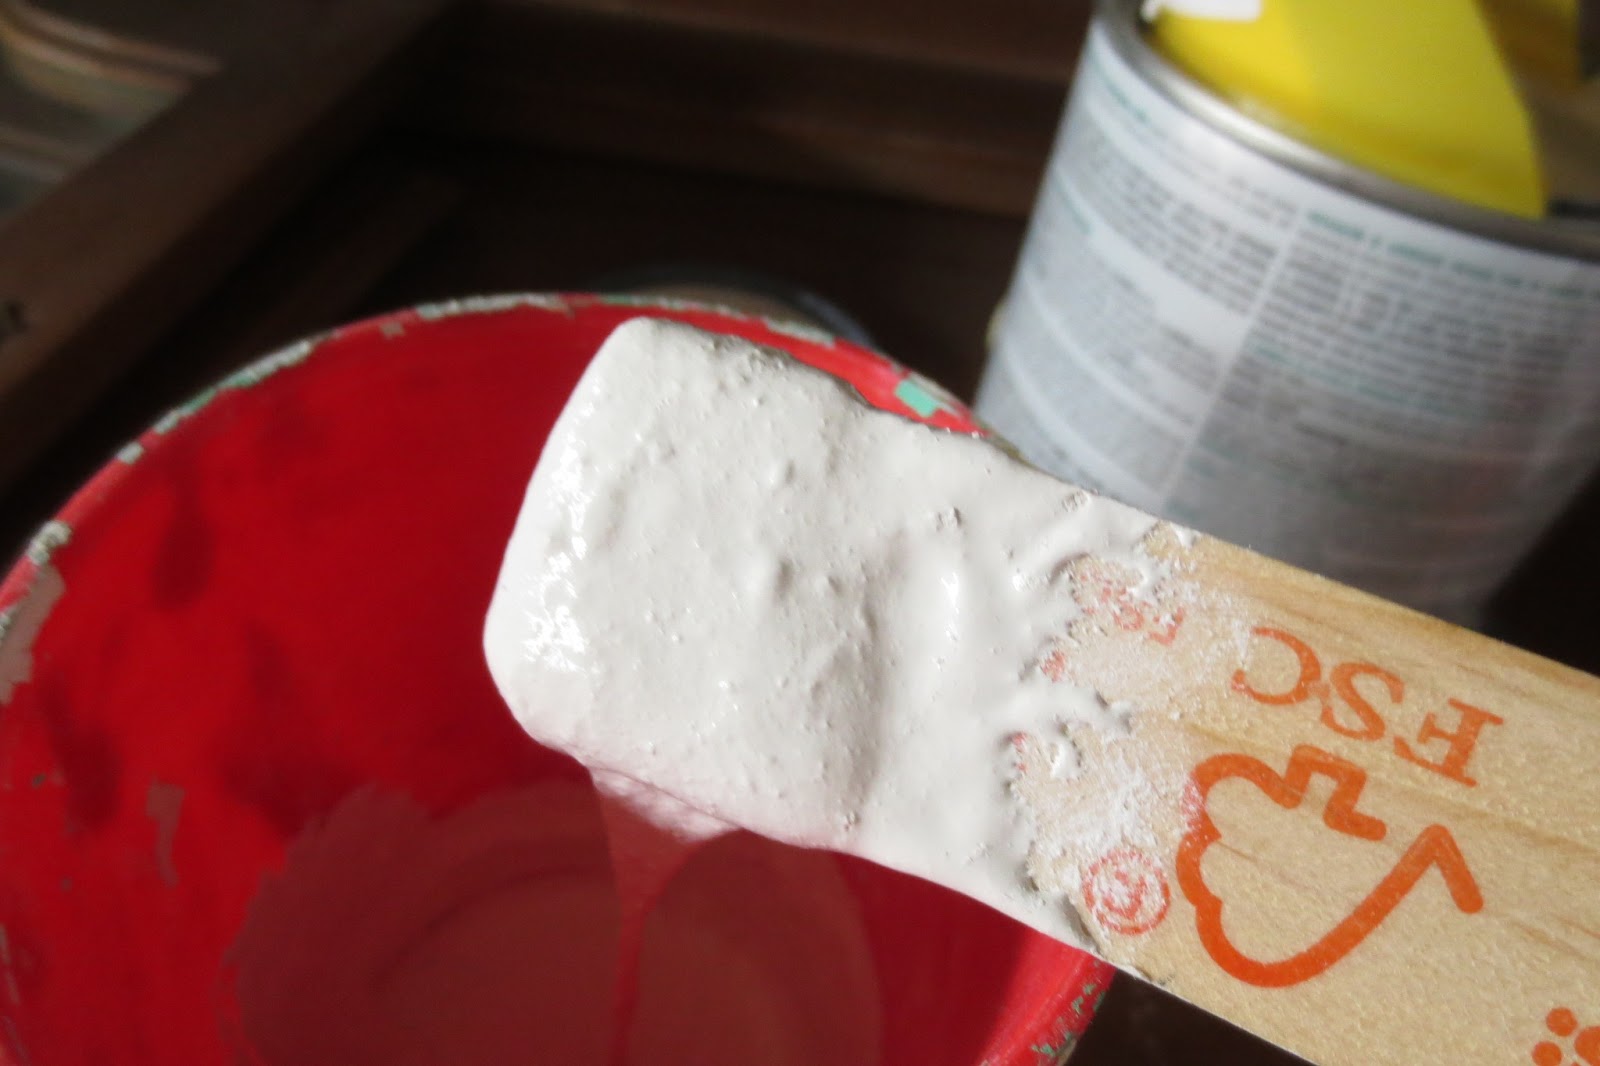
For each cup of paint add 2 Tablespoons of un-sanded grout. But first you must mix the grout with a little bit of paint.
It will be thick like this, then add the rest of your 1 cup of paint. This will keep your paint from having chunks and lumps of grout. Stir, stir, stir.
Use a roller and roller tray. This will help you get even paint coverage because it eliminates excess paint on the roller. Also use a very smooth foam roller for furniture.
A nice thick coat of paint is great. Never drippy or lumpy though.
You will not be able to reach the corners with your roller, so have a tapered paint brush ready.
At the end of three coats of paint, you can still see dark shadows and uncovered areas. Always let the paint dry to the touch before starting the next coat.
4 1/2 coats later I am finished. This piece will be waxed as soon as the paint cures in a day or two.
For the doors, I am staining them so I want to strip the original finish off. I used 60 grit sandpaper on my sander to remove a majority of the finish.
I was planning on glazing these anyway, so I left the darker original color in the crevices, it saves me one step and a little money. I choose a light pecan color, Poly-stain in satin. I taped the glass off so I wouldn't have to scrape off any poly-stain I got on it, which would be more difficult and time consuming than taping was. It's starting to look great! I will show you how these doors come out on my next post. For now, they need to dry.


No comments:
Post a Comment